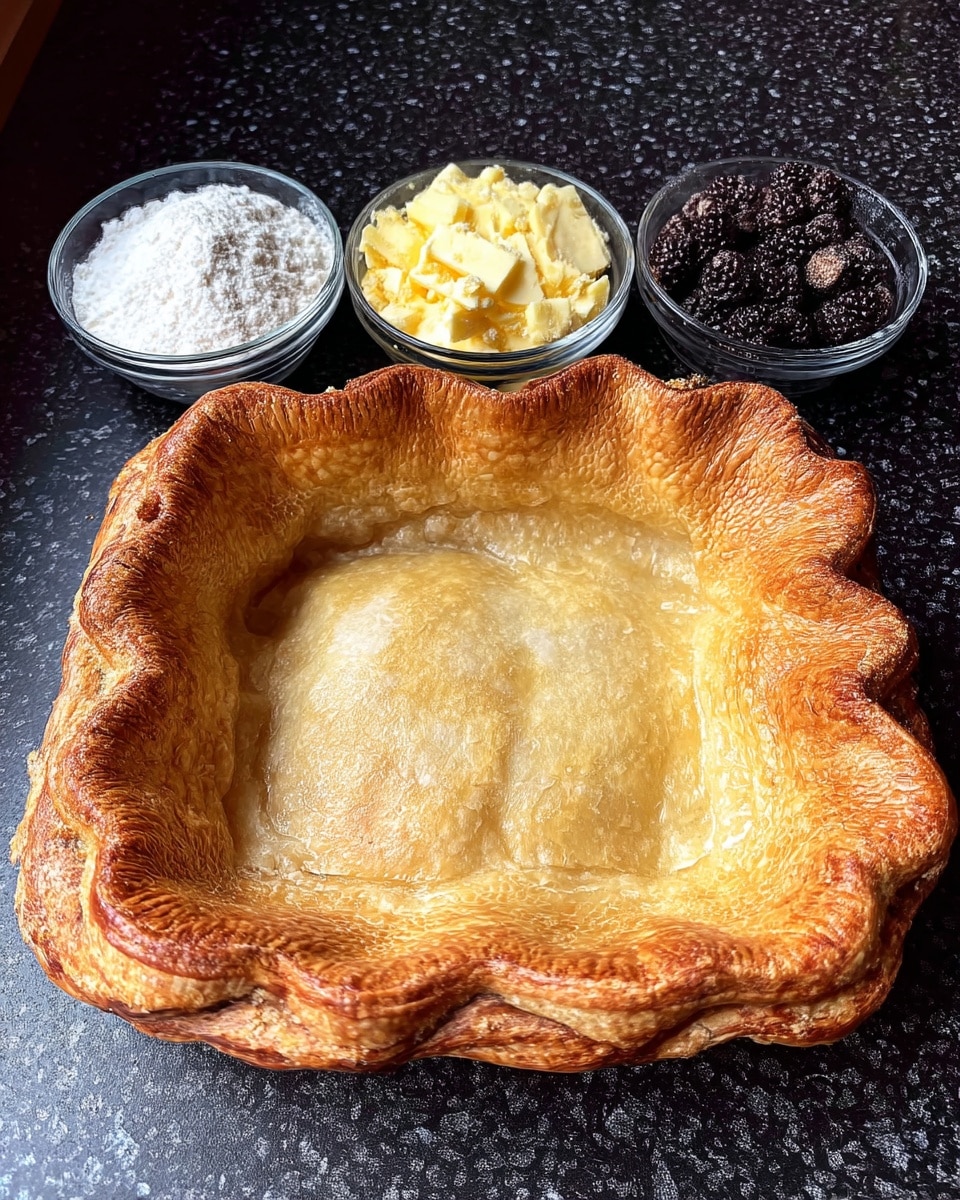
I still remember the first time I brought this to a neighborhood potluck—a pie crust so stunning folks mistook it for the main event. This isn’t your average base for pumpkin or apple filling. No, this creative pie crust brings the spotlight right to the edge of your pie plate. It’s buttery, sweet, and shaped like sugar cookie dreams. The kind of crust that makes people gasp when you bring it to the table.
Whether you’re dressing up a spring strawberry filling or layering it under creamy chocolate, this pie crust transforms dessert into a canvas. And the best part? You’ll have enough dough left over to make beautiful cookie cutouts for the top. It’s playful, nostalgic, and wildly rewarding.
Let’s make memories one bite at a time.
Why You’ll Love This Recipe
This creative pie crust is a total crowd-pleaser. It’s sweet, rich, and makes your whole kitchen smell like a sugar cookie bakery.
It’s ideal when you want your pie to feel extra special—whether for birthdays, brunches, or cozy autumn gatherings. Plus, it bakes beautifully with no shrinkage or soggy bottoms.
The recipe is approachable for beginners, yet it offers plenty of room to flex your decorating muscles. Kids can help with cookie cutouts, while bakers who love details can pipe edges or shape leaves.
Ready in just over an hour, it’s perfect when you want a homemade feel with a decorative twist. And trust me—once you try a slice of crust + cookie topping, you’ll crave it year-round.
Print
Creative Pie Crust
- Total Time: 1 hour 10 minutes
- Yield: 8 servings
Description
This creative pie crust blends the charm of sugar cookies with the function of a traditional crust. With a soft, buttery texture and customizable cookie cutouts, it’s perfect for showcasing fillings at holidays, parties, or just when you’re feeling festive.
Ingredients
- 8 tablespoons salted butter (softened)
- 1 cup sugar
- 1 egg, beaten
- 1/4 cup milk (low fat is fine)
- 1/2 teaspoon almond extract (or your favorite alternative)
- 2 1/3 cups flour (sifted)
- 2 teaspoons baking powder
Instructions
- Soften the Butter: Let butter sit at room temperature for 45–60 minutes until soft enough to mix, but not melted.
- Mix Wet Ingredients: Beat the butter and sugar until fluffy. Add egg, milk, and extract and stir to combine.
- Incorporate Dry Ingredients: Sift flour and baking powder, then mix into wet ingredients until a soft dough forms.
- Chill the Dough: Wrap dough in plastic wrap and freeze for 25 minutes to firm it for rolling.
- Shape and Fit the Crust: Roll 3/4 of the dough into an 11-inch circle and fit into a greased 9-inch pie plate. Flute edges. Poke small holes in the base with a fork.
- Freeze and Bake: Freeze shaped crust for 10 minutes, then bake at 375°F for 13–15 minutes until golden. Cool on wire rack.
- Make Cookie Toppers: Roll remaining dough, cut out shapes, and bake on a greased sheet for 9 minutes. Cool.
- Assemble and Serve: Add filling to cooled crust and top with cookie cutouts for a stunning finish.
Notes
You can swap almond extract with vanilla, lemon, or maple for fun seasonal twists. Be sure to chill the dough to keep shapes intact and edges crisp. For extra style, dust the cookies with cinnamon sugar before baking.
- Prep Time: 50 minutes
- Cook Time: 15 minutes
- Category: Desserts
- Method: Baking
- Cuisine: American
Ingredient Overview
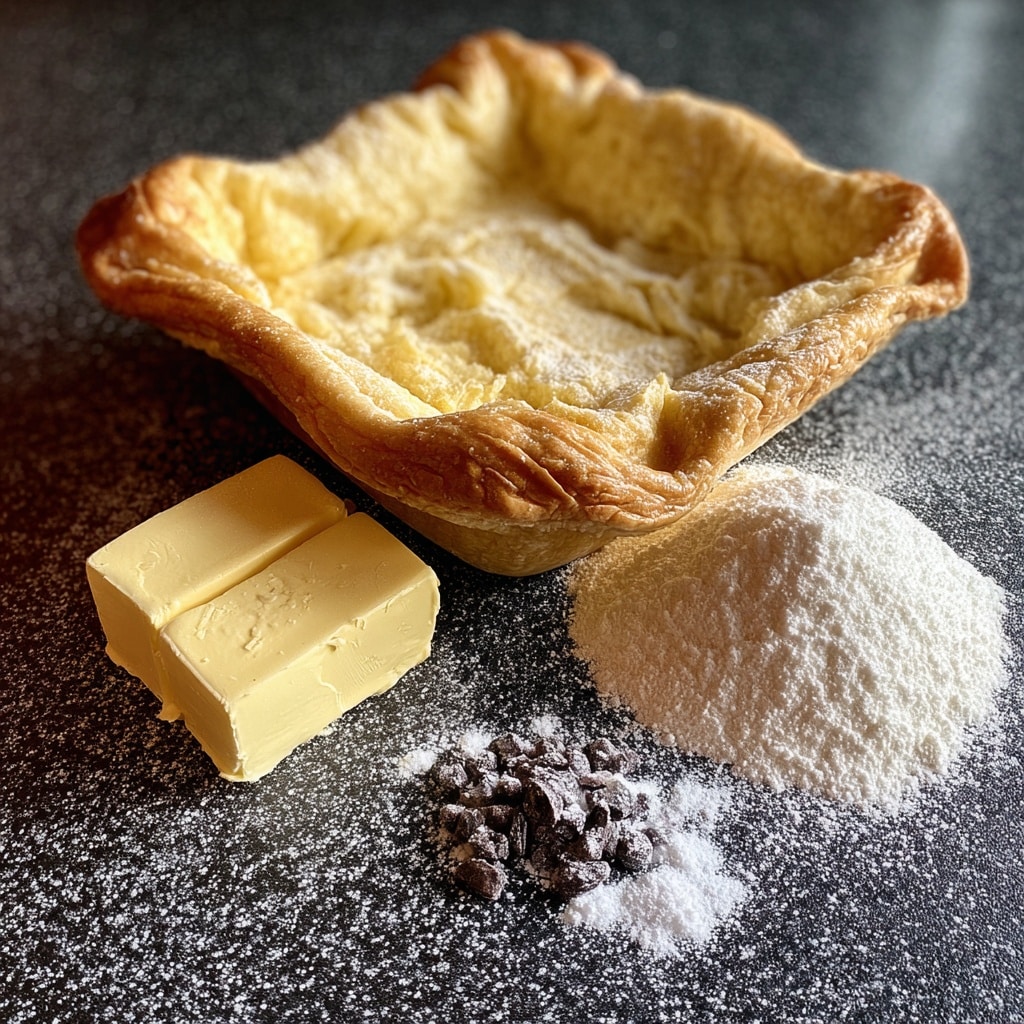
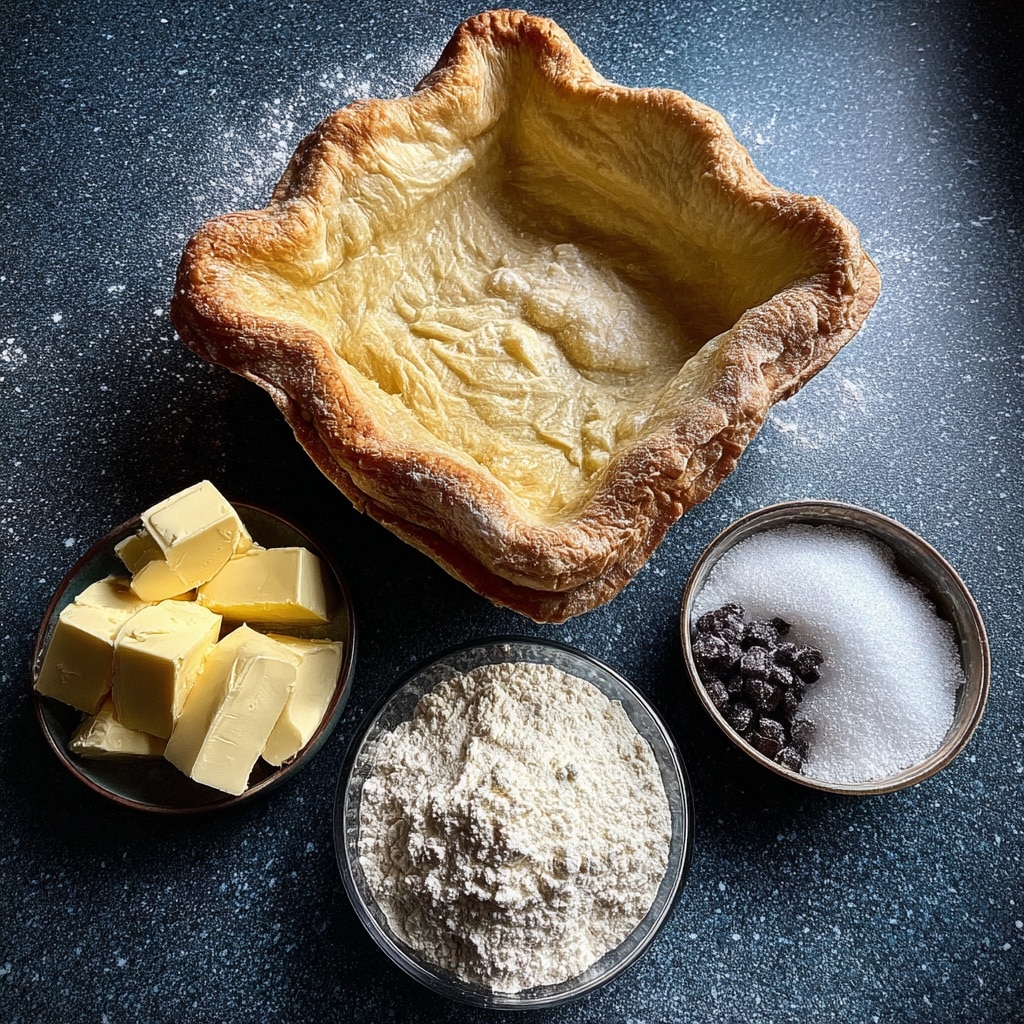
This creative pie crust walks the line between cookie and crust—sweet, soft, and sturdy enough to hold all your favorite fillings. Here’s what you’ll need:
-
Salted Butter: The softened base that keeps this dough rich and flavorful. Don’t skip softening—it makes mixing smoother.
-
Sugar: For sweetness, structure, and that classic sugar cookie snap at the edge.
-
Egg + Milk: These bind the dough while adding tenderness.
-
Almond Extract: A hint of floral depth. You can swap in vanilla or citrus if you prefer.
-
Flour: Sifted to keep the dough airy and easy to roll.
-
Baking Powder: Lifts the dough just enough to keep it soft but structured.
Optional but lovely: powdered sugar for dusting your surface instead of flour. It adds subtle sweetness and makes the dough even silkier to work with.
Step-by-step Instructions
Step 1: Soften the Butter Just Right
Set your salted butter on the counter for about an hour. You want it soft enough to mix easily but not melty. The base of any creative pie crust starts with perfectly softened butter—it brings richness and structure without making the dough greasy.
Step 2: Cream Butter and Sugar
In a large bowl, beat the butter and sugar together until fluffy but not over-whipped. This creates the delicate crumb you want for a cookie-like crust. Overbeating can make your dough too sticky and hard to roll.
Step 3: Add Wet Ingredients
Mix in your beaten egg, milk, and almond extract (or flavor of choice). The extract is key—it gives this creative pie crust its signature aromatic flavor. You can go classic with vanilla or add lemon for a fresh zing.
Step 4: Sift and Combine the Dry Ingredients
Sift your flour and baking powder before adding to the wet mixture. Beat on low just until everything is incorporated. Once the dough pulls together into a ball, you’re on the right track.
Step 5: Chill the Dough
Wrap your dough in plastic wrap and freeze for 25 minutes. This step firms it up for easy rolling and helps hold those artistic cookie shapes once baked. Tip: Don’t skip the chill—it’s essential for handling!
Step 6: Prepare Pie Plate and Dough
Preheat your oven to 375°F. Grease a 9-inch pie plate and baking sheet. Cut off ¼ of the chilled dough and set it aside for the topping. Roll the remaining into an 11-inch circle, about ½ inch thick.
Step 7: Transfer and Shape the Crust
Carefully transfer the dough to the pie plate. Use your fingers to press it in evenly and flute the edges for that charming, handmade look. Poke small holes in the base with a fork to prevent bubbling.
Step 8: Freeze and Bake
Freeze the shaped crust for 10 minutes. Then bake for 13–15 minutes, until golden at the edges. A toothpick should come out clean from the center. Let cool on a wire rack.
Step 9: Make the Cookie Topping
While the crust bakes, roll out the reserved dough to ¼ inch thick. Use cookie cutters to shape fun seasonal or festive toppers. Bake on a sheet for 9 minutes. Let cool completely.
Step 10: Assemble Your Masterpiece
Spoon your cooled filling into the pie shell, then gently arrange the sugar cookie toppers. Your creative pie crust is now an edible work of art—ready to impress at any table!
Pro Tips
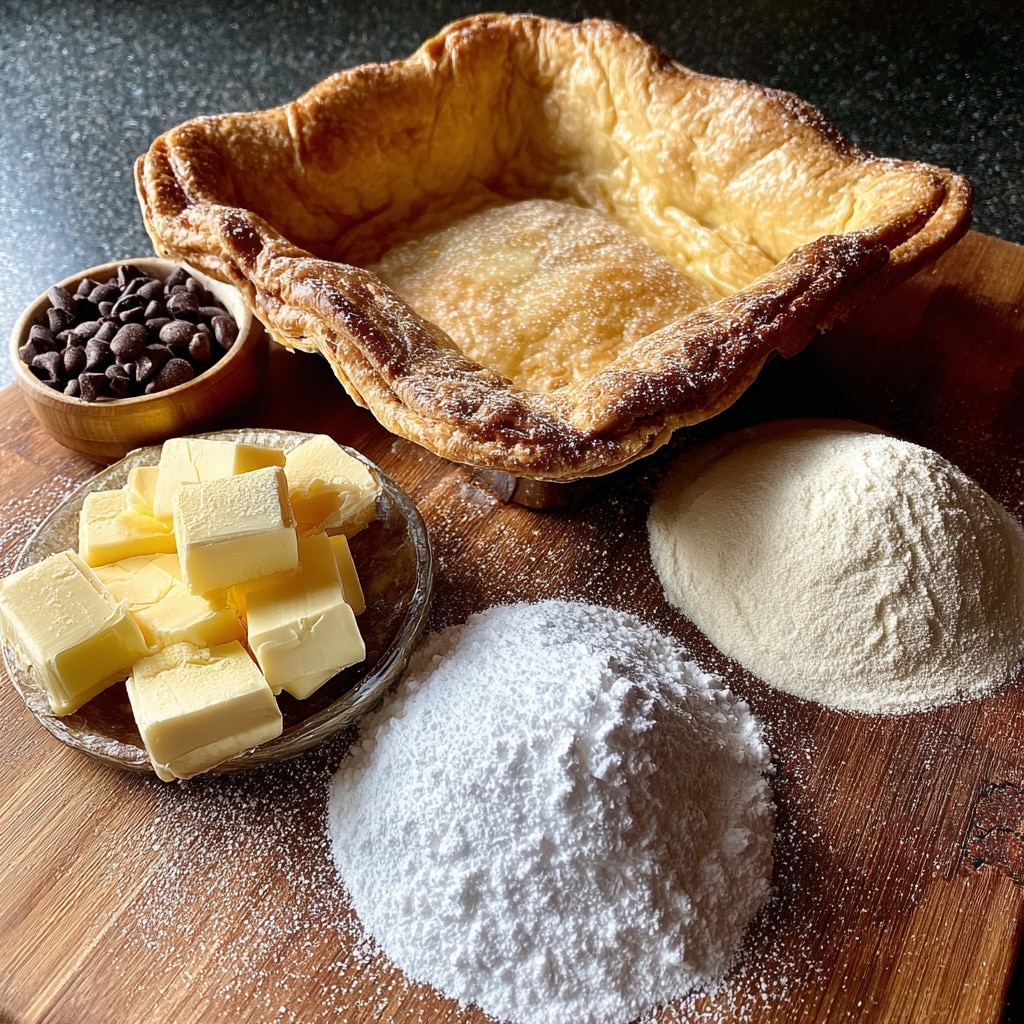
If you’re after a creative pie crust that turns heads and tastes like a dream, chilling is your best friend. Always freeze your dough twice—once after mixing and again after shaping. This helps it hold every ridge, ruffle, and flute without sliding in the oven.
Use powdered sugar instead of flour to roll out your dough. Not only does it prevent sticking, but it gives the crust a delicate sweetness that echoes the cookie flavor beautifully. It’s a small switch with big payoff.
For a seasonal twist, try using orange or coconut extract in place of almond. When I make this crust for my pumpkin creamy pasta lovers, I swap in maple and a dash of cinnamon. It makes your pie feel like fall in every bite.
Make use of kitchen tools you already have—fluted biscuit cutters, small leaf molds, or even the rim of a glass work perfectly for topping cookies. The charm of a creative pie crust lies in those playful, handmade details.
And if rolling isn’t your thing? Don’t worry—just press the dough into the plate with clean fingers. It will bake up just as tender, and maybe even more heartfelt.
Variations
Your creative pie crust doesn’t have to look the same twice. Want a pop of color? Mix a tiny bit of food-safe powdered dye into part of your dough before rolling the cookie toppers. You’ll get pink hearts or gold stars that sing on top of any pie.
For a gluten-free version, swap in a trusted 1:1 gluten-free flour blend. I’ve had the best results with ones that include xanthan gum to hold things together.
Add-ins are another fun option. A teaspoon of lemon zest or shredded coconut kneaded into the dough will give your crust surprising depth.
I love dressing this up for fall holidays by pairing it with seasonal dessert fillings and cinnamon-dusted sugar cookie toppers. It feels cozy, creative, and celebratory all at once.
And don’t forget savory pies! For cheese-based fillings, try reducing the sugar slightly and adding cracked pepper or herbs into the dough for a savory-sweet crust base.
Frequently Asked Questions
Can I make this creative pie crust ahead of time?
Yes! You can refrigerate the dough for up to 3 days or freeze it (wrapped well) for up to 2 months. Just thaw overnight in the fridge before using.
Do I need to blind bake this crust for no-bake pies?
Absolutely. If you’re using it for chilled fillings like pudding or mousse, bake it fully, cool completely, then fill.
Can I bake the cookies right on top of the filled pie?
I wouldn’t recommend it. For best results, bake cookies separately so they stay crisp and keep their decorative shapes.
What fillings go best with this crust?
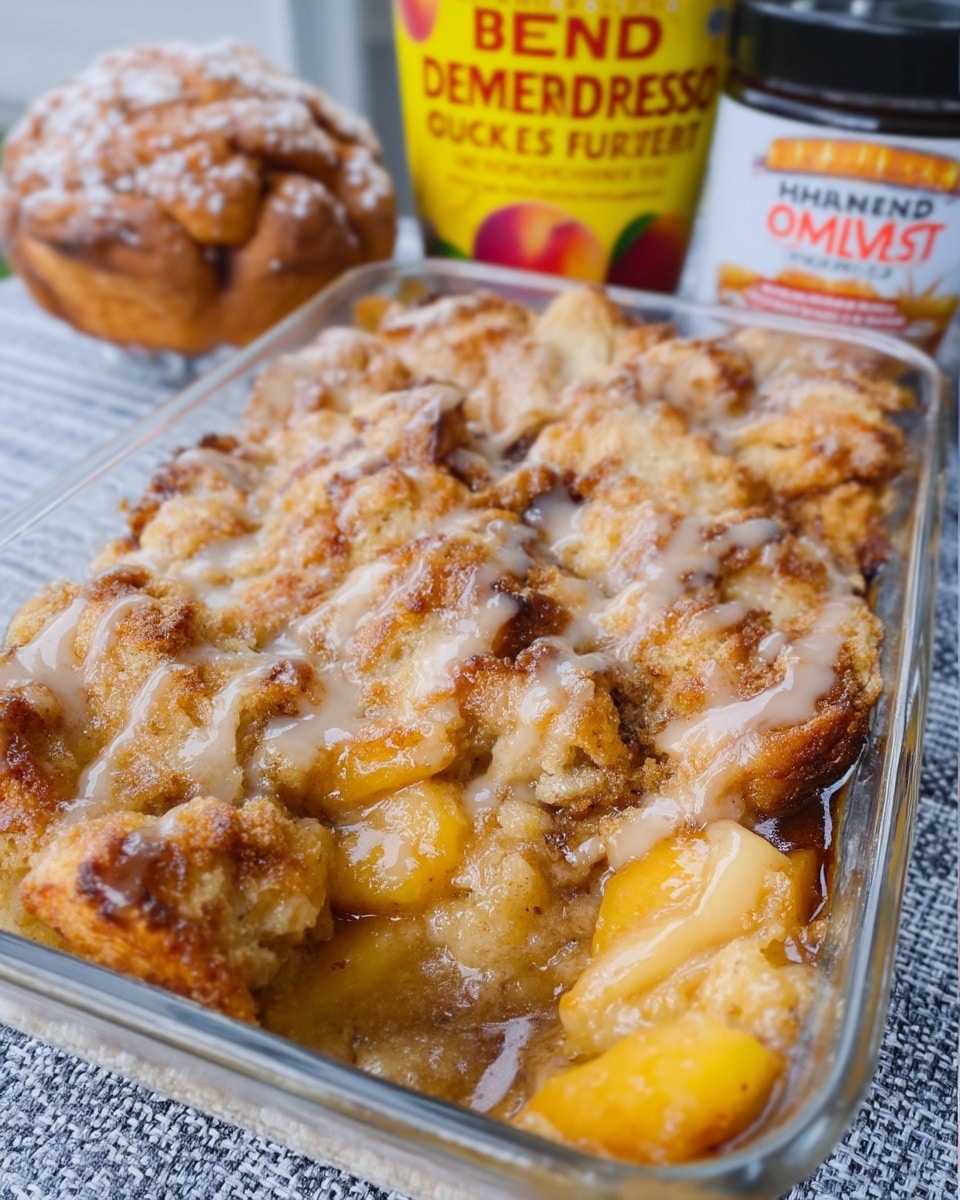
Fruit fillings like cherry, apple, or lemon pair wonderfully with the sweet cookie base. You can also try creamy pies like chocolate silk or coconut custard.
Can I double the recipe for two pies?
Yes, but mix in batches for better consistency. This dough gets thick and can overwork easily in large quantities.
Serving Suggestions
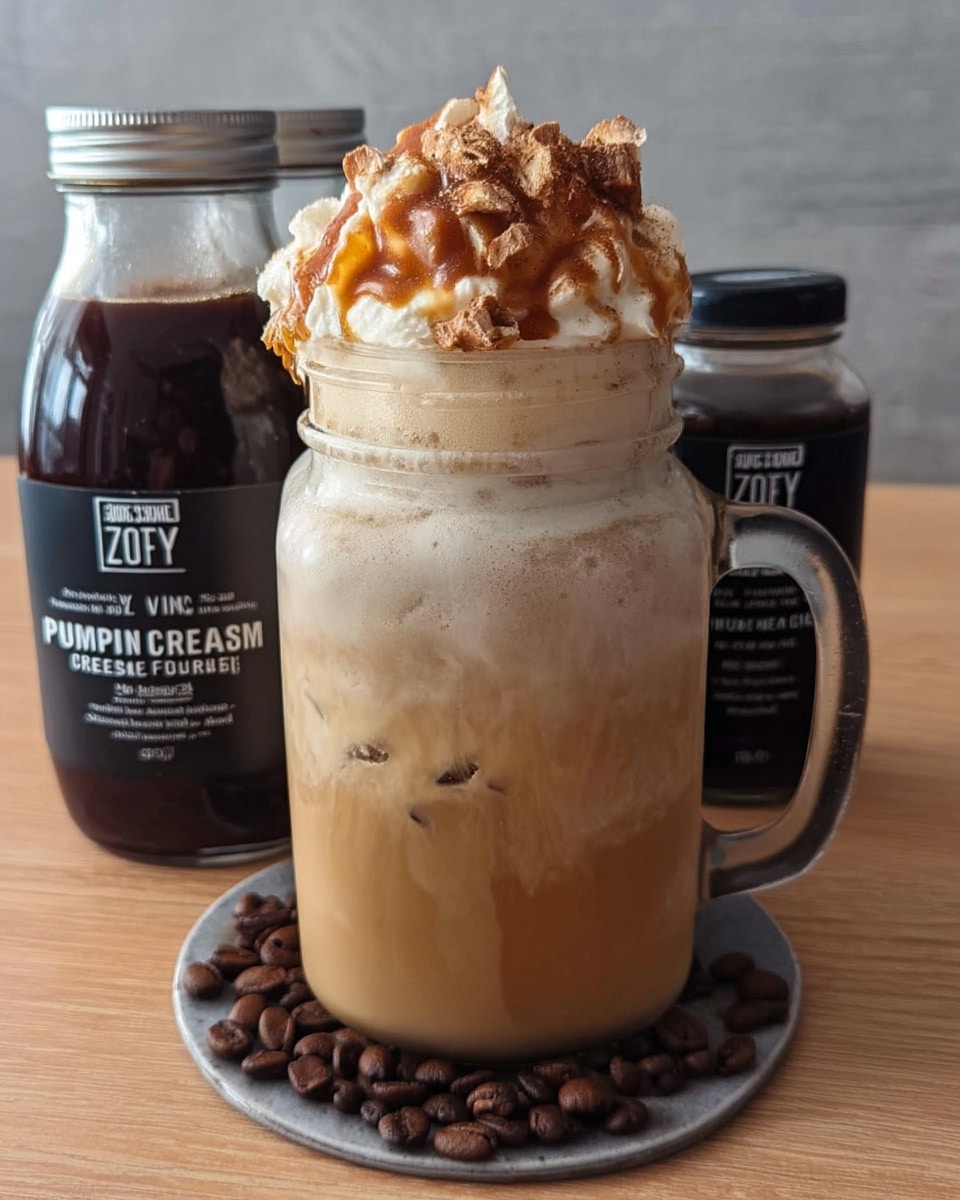
This creative pie crust shines brightest when paired with equally delightful fillings and drinks. Imagine spooning chilled cherry or lemon curd into that buttery cookie shell, then topping it with whipped cream and one of those adorable cookie cutouts. For a full dessert moment, I love serving it with a homemade chai latte or a chilled glass of pumpkin cream cold foam over ice. Whether you’re hosting a fall dinner party or enjoying a slow Sunday with family, this crust adds flair and flavor to any table.
Conclusion
There’s something magical about turning a simple dough into something so expressive, so joyful. A creative pie crust lets your personality shine through—from the rolling to the cutting to that final cookie placed gently on top. It’s more than a crust; it’s a celebration of sweet, cozy moments shared with loved ones.
If you’re as inspired by this recipe as I hope you are, don’t stop here. Keep playing, decorating, and dreaming up new pie ideas. And if you’re craving more dessert inspiration, our Desserts collection is filled with treats that pair beautifully with creative crusts like this one.
Try this recipe, and when you do—I’d truly love to hear how it turned out. Leave a comment with your own twist on this creative pie crust, or tag us on your favorite social platform like pinterest to show off your pie art. I promise, I’ll be cheering you on every flaky step of the way!
Gather around the table — something delicious is waiting!

1 thought on “Creative Pie Crust”